Deploy ML Models with Flask and Docker Easily
In this tutorial, I will show you step-by-step how to build a web application with Flask from a pre-trained toy ML classification model built offline and then containerize the application using Docker. You can find the project page here.
Big picture
Assume you are tasked to predict the diagnosis of breast tissues (M = malignant, B = benign) based on the characteristics of the cell nuclei present in the image of a fine needle aspirate (FNA) of a breast mass. It’s a very easy binary classification task so we just use this toy example to illustrate the end-to-end ML model life cycle, with the focus on model deployment. Data Scientists usually start with exploring the dataset in a notebook environment as the interactive nature greatly speeds up the prototyping and exploration. After a number of iterations, we are finally happy with the model and save it in the disk. Now the remaining problem is how to make the pre-trained model useful to the end-point users? i.e. the clinicians who have a set of characteristics of the image of a new patient and they want to know whether the corresponding breast tissue is malignant or benign. They don’t usually work with Python or ML so let’s take them to a web application where the only thing to do is to fill in the forms and get the prediction at fingertips.
Model training
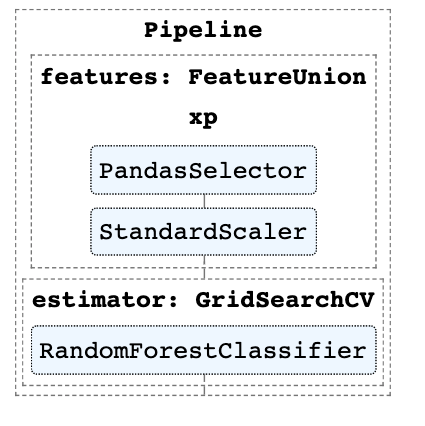
Model training usually happens offline with the exception of some online learning systems such as Reinforcement Learning. In this tutorial, I will skip the process as to how I reached to the final model since it’s not the focus of this tutorial. Instead, what’s really matters is the model pipeline. BTW, in the latest scikit-learn>=0.21 we are able to visualize the pipeline object in diagram. I didn’t go over the formal feature selection procedure for the sake of simplicity, instead, 4 features were manually selected.
Check out the data exploration and other model details such as features importance here

Building up the model pipeline
import numpy as np
import pandas as pd
from sklearn.model_selection import train_test_split, GridSearchCV
from sklearn.ensemble import RandomForestClassifier
from sklearn.preprocessing import StandardScaler
import pickle
from utility import PandasSelector
from sklearn.pipeline import make_pipeline, FeatureUnion, Pipeline
from sklearn import set_config
set_config(display='diagram')

x_train, x_test, y_train, y_test = train_test_split(X, Y, test_size=0.3)

keep_features = ['radius_mean', 'texture_mean', 'smoothness_mean', 'compactness_mean']

x_proc = make_pipeline(
    PandasSelector(keep_features),
    StandardScaler())

pipeline_features = ('features', FeatureUnion([('xp', x_proc)]))

grid = GridSearchCV(
        estimator=RandomForestClassifier(),
        param_grid={'n_estimators': [100, 200, 500],
                    'max_depth': [3, 8]},
        cv=3,
        scoring='roc_auc',
        n_jobs=-1)

pipe = Pipeline([pipeline_features, ("estimator", grid)])
pipe.fit(x_train, y_train)
Save the pipeline by dumping the pickle file
pickle.dump(pipe, open('pipe.pkl', 'wb'))
Set up web application with Flask
HTML form
Flask is a super popular Python web framework, used for developing web applications easily and purely in Python.
Let’s define the routes first. Definitely we need a front-end application for user to interact. In this example, since we don’t want to write cumbersome HTML so let’s just use the render_template to render the jinja2 templates that Flask automatically configures for us. The simple HTML form can be found here. Note that Flask will look for templates in the templates sub-folder.
/application
    /__init__.py
    /templates
        /form.html
Predict route
The most important route is the predict route where we actually make prediction through the pre-trained model.
First of all, we need to load the saved pipeline.
# saved the pre-trained model in pickle format
pipe = pickle.load(open('pipe.pkl','rb'))
feature_cols = ['radius_mean', 'texture_mean', 'smoothness_mean', 'compactness_mean']
Now we are going to access the input_data collected by request object. We converted to pd.dataframe to be consistent with the pipeline’s predict and transform input arguments. numpy.array should be also fine. Lastly, the function returns the predicted breast cancer type either M = malignant or B = benign.
Note that the return type must be a string, dict, tuple, Response instance, or WSGI callable.
@app.route('/predict', methods=["POST"])
def predict():

    input_data = []
    for col in feature_cols:
        input_data.append(float(request.form[col]))

    input_df = pd.DataFrame(np.array(input_data).reshape(1,-1), columns=feature_cols)

    loaded_model = pipe.steps[1][1]
    processing = pipe.steps[0][1]
    X = processing.transform(input_df)
    pred = loaded_model.predict(X)

    return str(pred[0])
And that’s pretty much done!
Launch the web application
There are two ways to launch the web application. One way is to simply run python breast_cancer_api.py.

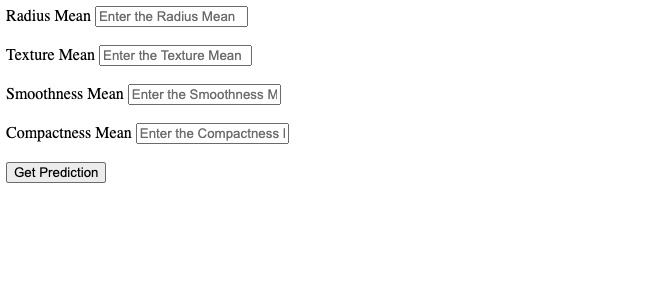
And open the browser http://0.0.0.0:5000/. Hopefully if everything goes smoothly, you would see the following web page:

After you fill in the forms and click Get Prediction, ideally you will see a plain page with a capital letter, either M or B, returned to you.
Docker
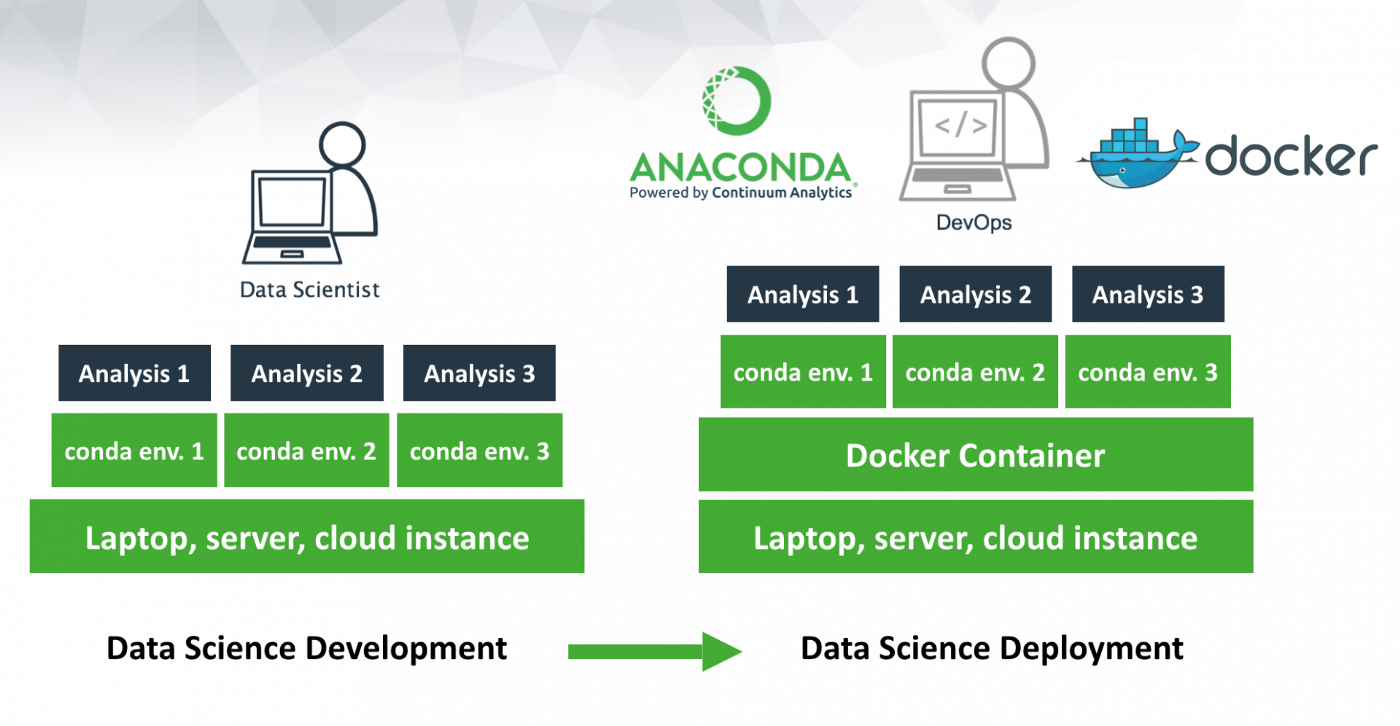
The other way, which is to launch the application through Docker, is preferable because Docker’s containerization makes the deployment more scalable, reproducible and portable.

First of all, let’s write a Docker file and build a docker image by:
sudo docker build -t breast_cancer_api .
It can be seen that our docker image tagged as breast_cancer_api has been successfully built.

Now we can launch the breast_cancer_api by running
docker run -p 5000:5000 breast_cancer_api
It will direct us to the same URL as shown above.
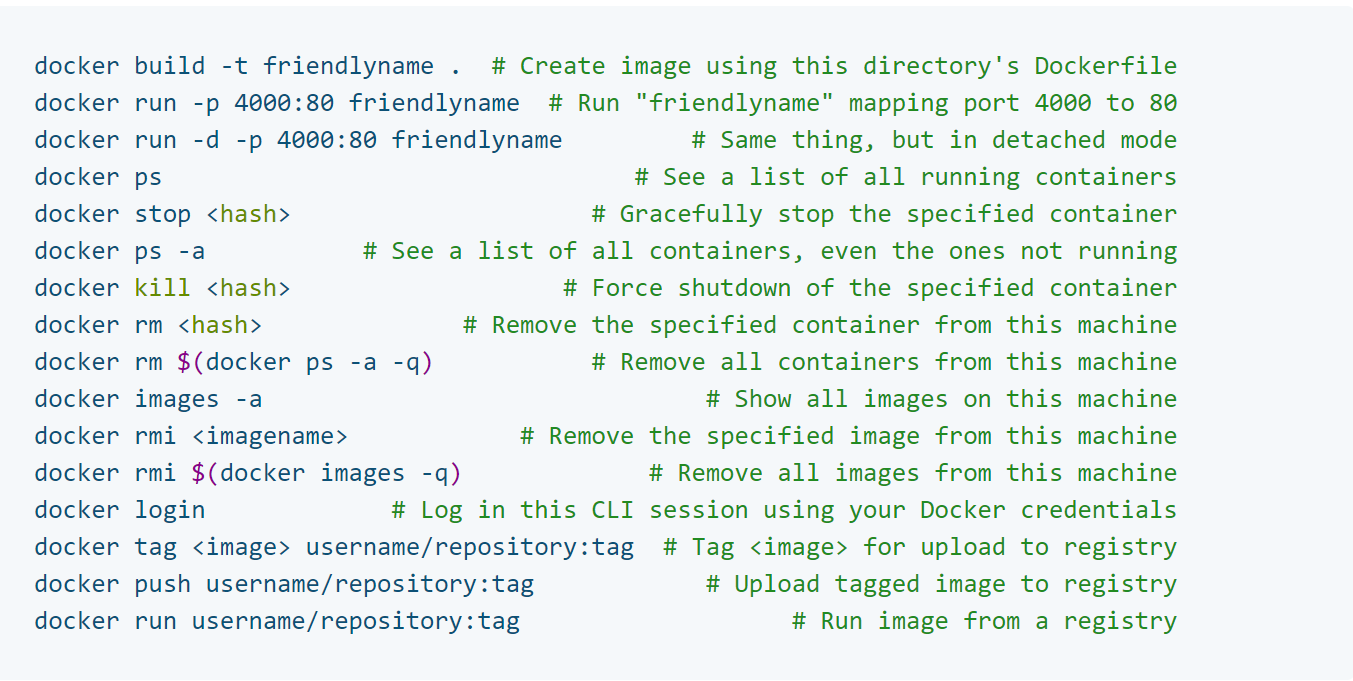
Some commonly used Docker commands
